A Homebrewer’s Guide: Growing, Harvesting, and Drying Hops at Home
For beer enthusiasts and homebrewers, there’s nothing quite like the satisfaction of crafting your own brew from start to finish. One essential ingredient that adds flavor, aroma, and character to your homemade beer is hops. If you’ve ever wondered about growing, harvesting, and drying hops at home, this blog post is for you! Join us as we delve into the rewarding process of cultivating your hops and elevating your homebrewing game.
Step 1: Selecting Hop Varieties
Before you embark on your hop-growing journey, choose hop varieties that thrive in your climate and suit your brewing preferences. Popular varieties such as Cascade, Centennial, and Chinook are well-suited for many regions, while certain heirloom varieties offer unique flavors and aromas. Consider factors like sunlight, soil type, and space availability when selecting your hop plants.
Step 2: Preparing the Hop Garden
Hops are fast-growing, vertically climbing plants that require sturdy support structures like trellises or strings. Select a sunny location with well-draining soil to promote healthy growth. Prepare the soil by adding organic matter, ensuring proper drainage and fertility. Plant hop rhizomes in early spring, approximately two inches deep, and space them about three to five feet apart to allow enough room for growth.
Step 3: Nurturing the Hops
Once planted, hops need regular care to thrive. Provide ample water during the growing season, ensuring the soil remains consistently moist but not waterlogged. As the hop bines (the flexible stem of the plant) grow, guide them to climb the trellis or strings for support. Keep an eye out for pests and diseases, and address any issues promptly to ensure healthy growth.
Step 4: Harvesting Hops
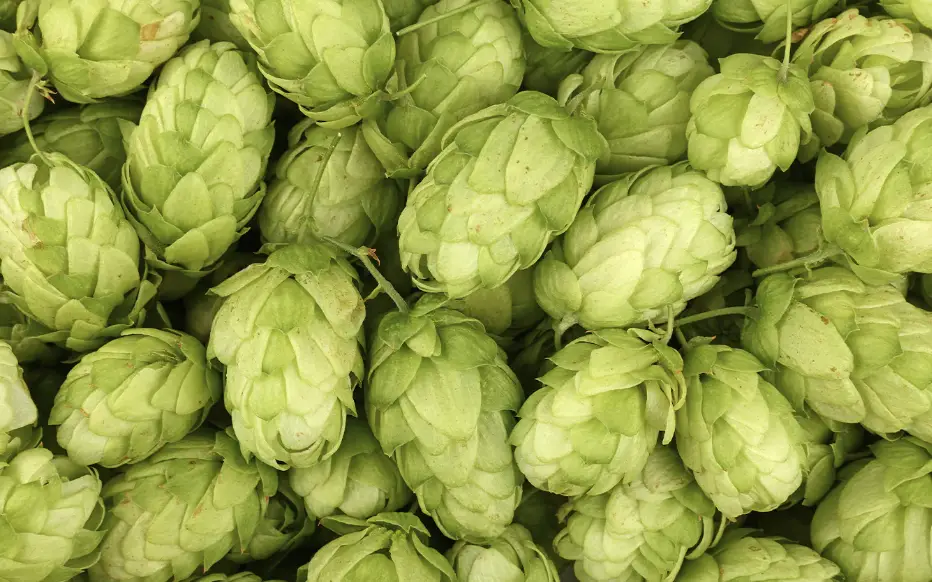
Hops are ready for harvesting when the cones (the flowers of the hop plant) feel dry, papery, and aromatic to the touch. Harvesting time usually falls between late summer and early fall, depending on the hop variety and your location. Gently pick the cones by hand or with scissors, being careful not to damage the bines.
Step 5: Drying Hops
Drying hops is crucial to preserve their flavor and aroma. There are various methods to achieve this, including air-drying, using a dehydrator, or building a hop-drying kiln. For air-drying, spread the harvested hops in a single layer on a screen or mesh in a well-ventilated area away from direct sunlight. Turn the hops regularly to ensure even drying. Once the cones feel dry and crisp to the touch, they are ready for storage.
Step 6: Storing Hops
To store your dried hops, place them in airtight containers, preferably vacuum-sealed bags, or glass jars with airtight lids. Store the hops in a cool, dark place, such as a refrigerator or freezer, to maintain their freshness and potency for up to a year.
Conclusion
Growing, harvesting, and drying hops at home is a rewarding and enjoyable process that allows homebrewers to connect intimately with their craft. From selecting the right hop varieties to nurturing the plants and harvesting the cones, each step contributes to the unique flavors and aromas of your homemade beer. So, whether you’re an experienced homebrewer or just starting your brewing adventure, consider growing hops at home and elevate your brewing to new heights! Cheers to creating your very own hoppy masterpieces!


