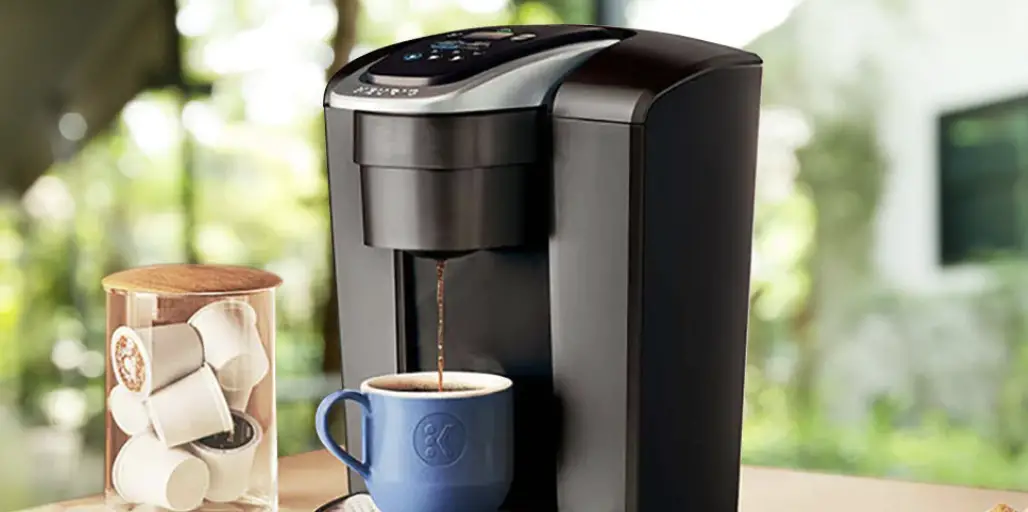
A Sip of Coffee Paradise: Troubleshooting Your Keurig Coffee Maker
Picture this: you wake up in the morning, eager for that delightful cup of coffee from your trusty Keurig coffee maker. But wait! Something seems amiss, and your coffee-making routine is interrupted. Fear not! In this blog post, we’ll guide you through some common Keurig troubleshooting tips to get your coffee maker back on track, so you can savor that perfect cup of joe once again.
1. Slow or Incomplete Brewing:
Possible Causes:
- Mineral buildup or debris in the water line or needle
- Clogged brew needle
- Low water level in the reservoir
- Coffee grounds in the K-Cup holder
Troubleshooting:
- Descale your Keurig: Regularly descale your Keurig to remove mineral deposits that may affect the brewing process. Follow the manufacturer’s instructions for descaling using a descaling solution or a mixture of water and white vinegar.
- Clean the brew needle: If the brew needle is clogged, carefully remove any debris using a paperclip or a needle, ensuring you do not damage the needle.
- Check water level: Ensure the water reservoir is filled to the appropriate level to allow smooth brewing.
- Clean the K-Cup holder: Check for any coffee grounds or debris in the K-Cup holder and clean it thoroughly.
2. Coffee Tastes Off or Weak:
Possible Causes:
- Mineral buildup affecting water taste
- Clogged or punctured K-Cup
- Incorrect coffee-to-water ratio
Troubleshooting:
- Descale your Keurig: As mentioned earlier, descaling your Keurig removes mineral buildup that may affect water taste.
- Check the K-Cup: Make sure the K-Cup is not clogged or punctured. If it is, replace it with a fresh one.
- Adjust coffee-to-water ratio: If your coffee tastes weak, try using a stronger K-Cup or adjusting the size setting on your Keurig to extract more flavor.
3. Error Messages on the Display:
Possible Causes:
- Jammed or obstructed parts
- Water reservoir not properly inserted
- Needs a simple reset
Troubleshooting:
- Clear any obstructions: Carefully inspect your Keurig for any obstructions or jammed parts, and gently remove them.
- Reinsert water reservoir: Ensure the water reservoir is correctly inserted and properly seated.
- Perform a reset: If you encounter an error message, try performing a simple reset by unplugging your Keurig from the power source for a few minutes, then plugging it back in.
4. Keurig Not Powering On:
Possible Causes:
- Power cord not securely connected
- Faulty electrical outlet
- Needs a reset
Troubleshooting:
- Check the power cord: Make sure the power cord is securely connected to both your Keurig and the electrical outlet.
- Test the outlet: Ensure the outlet is working by plugging in another device or appliance.
- Perform a reset: As mentioned earlier, try performing a reset by unplugging your Keurig from the power source for a few minutes before plugging it back in.
Conclusion: Coffee Bliss Restored
With these troubleshooting tips, you can overcome common Keurig issues and get back to enjoying your favorite coffee brews. Regular maintenance, cleaning, and proper usage are essential to keeping your Keurig in top-notch condition for countless cups of coffee bliss.
So, the next time your Keurig throws a curveball, approach it with confidence, armed with these valuable insights. Sip by sip, your Keurig coffee maker will continue to deliver that perfect cup of coffee that starts your day with a burst of flavor and energy. Happy brewing!