Cue Repair 101: How to Replace a Ferrule on a Pool Cue
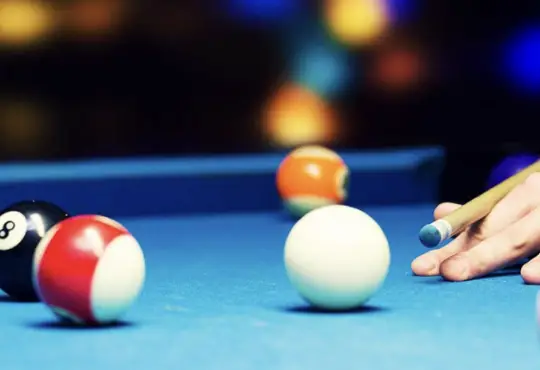
A pool cue is more than just a tool for the game; it’s an extension of a player’s skills and style. Over time, wear and tear can take a toll on the cue, especially the ferrule—the small piece that attaches the cue tip to the shaft. If your ferrule is damaged or worn out, fear not! With a bit of know-how and the right tools, you can easily replace a ferrule on your pool cue. In this blog post, we’ll guide you through the process step-by-step, helping you bring your cue back to top-notch condition for smooth and precise shots.
Step 1: Gather the Supplies
Before you start the replacement process, ensure you have all the necessary supplies at hand. You will need:
- Replacement ferrule (available at most cue supply stores)
- Cue tip (optional, if you also want to replace the tip)
- Ferrule cement or epoxy
- Sharp utility knife or cue tip trimmer
- Sandpaper (fine grit)
- Cue clamp or a vice
- Cue lathe or sanding machine (optional but recommended)
Step 2: Remove the Old Ferrule
Carefully remove the old ferrule from the pool cue shaft. You can use a sharp utility knife or a cue tip trimmer to gently cut and peel away the old ferrule.
Step 3: Prepare the Shaft
Once the old ferrule is removed, you may notice some glue or residue on the shaft. Use sandpaper with a fine grit to clean and smooth the area where the new ferrule will be attached. Make sure the surface is clean and free of any debris.
Step 4: Apply Ferrule Cement
Apply a thin layer of ferrule cement or epoxy to the inside of the new ferrule. Ensure that the cement is evenly spread to ensure a secure bond with the cue shaft.
Step 5: Attach the New Ferrule
Carefully place the new ferrule over the cue shaft, ensuring it is aligned correctly with the tip. Press the ferrule firmly onto the shaft, making sure it adheres well.
Step 6: Clamp the Ferrule
To ensure a strong bond, use a cue clamp or a vice to hold the ferrule in place while the cement or epoxy dries. Follow the manufacturer’s instructions for the drying time.
Step 7: Trim and Shape
After the cement has dried and the ferrule is securely attached, use a cue lathe or sanding machine (or sandpaper if working by hand) to trim and shape the ferrule to your desired length and diameter.
Step 8: Optional: Replace the Cue Tip
If you also want to replace the cue tip, carefully remove the old tip using a cue tip trimmer or utility knife. Apply tip cement or glue to the new tip and press it firmly onto the ferrule. Allow it to dry before shaping it to your desired thickness.
Conclusion: A Cue Like New
Replacing a ferrule on your pool cue is a rewarding task that can breathe new life into your beloved cue. With the right tools and a little patience, you can restore your cue to its former glory, ready to deliver smooth and precise shots on the pool table.
Remember, if you’re unsure about any step in the process, it’s always best to seek advice from a professional cue repair specialist. Proper maintenance and care will ensure your pool cue remains your loyal companion, helping you sink shots and rack up victories on the pool table for years to come. So, get ready to elevate your game with a cue like new and enjoy countless hours of pool-playing fun!