Grill Masters Rejoice: A Step-by-Step Guide to Grilling Oysters on the Grill
There’s something undeniably special about indulging in fresh, succulent oysters. And while they are delightful when served raw, grilling oysters takes their flavor profile to a whole new level. The smoky, charred notes from the grill complement the natural brininess of the oysters, creating a mouthwatering symphony for your taste buds. In this blog post, we’ll show you how to become a grill master and elevate your culinary prowess by grilling oysters on the grill.
Step 1: Choosing the Perfect Oysters
The first step to achieving oyster grilling perfection is to select the right oysters. Look for fresh, live oysters with tightly closed shells. Ensure they feel heavy for their size, indicating plumpness and juiciness. Varieties like Pacific oysters, Kumamoto, or Eastern oysters are popular choices for grilling due to their robust flavors.
Step 2: Preparing the Oysters
Before grilling, it’s essential to clean the oysters thoroughly. Scrub the shells under cold running water to remove any debris or mud. Using a sturdy brush will help you get rid of stubborn barnacles. Once cleaned, pat them dry with a clean kitchen towel.
Step 3: Preparing the Grill
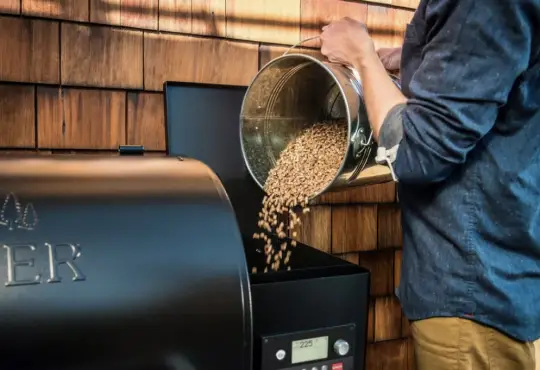
Preheat your grill to medium-high heat. For charcoal grills, arrange the coals in a single layer to create an even heat distribution. For gas grills, set the burners to medium-high heat.
Step 4: The Magical Moment – Grilling the Oysters
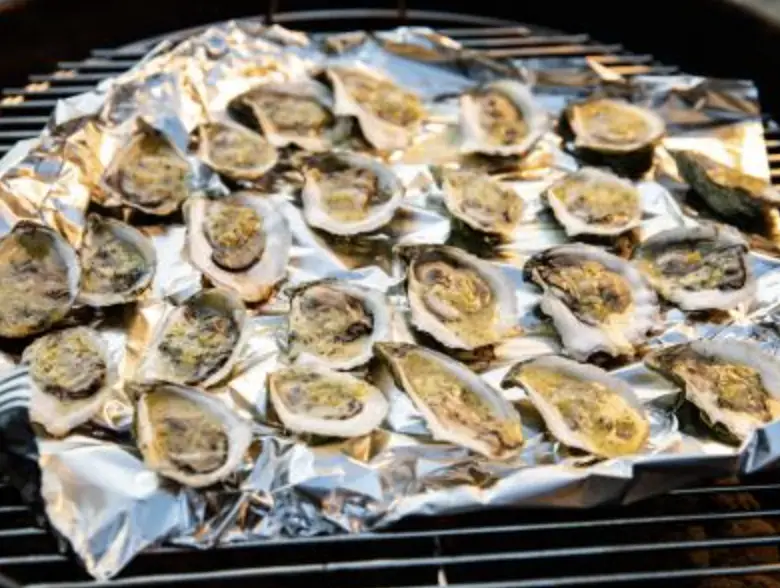
Place the oysters on the grill, flat side up, to prevent the flavorful juices from spilling out. Close the lid and let them cook for about 5 to 7 minutes. The oysters are ready when their shells pop open slightly.
Step 5: The Key to Success – Timing and Precision
Timing is crucial when grilling oysters. Overcooking can cause the oysters to become tough and rubbery. As soon as the shells pop open, promptly remove the oysters from the grill using tongs or a heat-resistant glove.
Step 6: Shucking the Oysters
Now comes the fun part – shucking the oysters. With an oyster knife or a sturdy, short-bladed knife, carefully pry open the shells by sliding the blade between the top and bottom shells. Be cautious and protect your hands while shucking.
Step 7: Flavorful Enhancements
While oysters are delightful on their own, you can take them to the next level by adding flavor enhancements. A classic approach is to drizzle them with melted garlic butter, a squeeze of fresh lemon juice, or a sprinkle of your favorite herbs like parsley or chives. Some adventurous grill masters might even add a dash of hot sauce or a dollop of mignonette sauce.
Step 8: Enjoy the Fruits of Your Labor
With the oysters perfectly grilled and flavored to perfection, it’s time to indulge. Serve them hot off the grill with some crusty bread to soak up the delicious juices, or savor them as they are for a pure taste of oceanic delight.
Conclusion:
Grilling oysters is a gratifying culinary experience that brings out the best of these ocean treasures. From selecting the freshest oysters to mastering the art of shucking and adding flavorful touches, each step contributes to a delectable dining experience. So, the next time you fire up the grill, don’t hesitate to try your hand at grilling oysters and unlock the smoky, briny goodness that awaits. Cheers to becoming a grill master and delighting in the gastronomic pleasures of grilled oysters!


