Mastering Your Pellet Grill: A Step-by-Step Guide to Testing an Auger Motor
Pellet grills have revolutionized outdoor cooking, offering convenience and precise temperature control for delectable results. At the heart of every pellet grill lies the auger motor, responsible for delivering the perfect amount of wood pellets to maintain your desired temperature. Understanding how to test the auger motor is crucial to ensuring your grill functions smoothly. In this blog post, we’ll walk you through the process of testing the auger motor in your pellet grill, empowering you to become a grill master and troubleshooter.
Step 1: Safety First
Before starting any testing or troubleshooting, ensure your pellet grill is unplugged from the power source. Working with electricity requires caution to prevent any potential accidents.
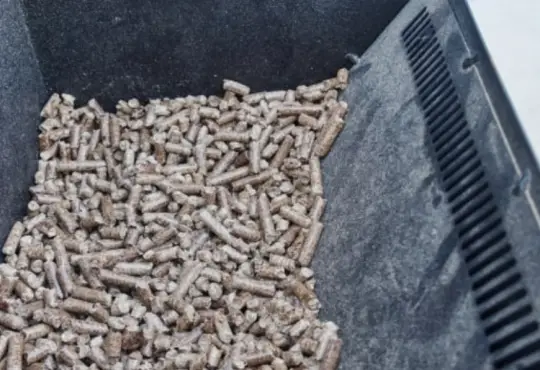
Step 2: Access the Auger Motor
Accessing the auger motor may vary depending on the make and model of your pellet grill. In most cases, you’ll need to remove the grill grates and the heat deflector or drip tray to access the motor. Refer to your grill’s user manual for specific instructions on accessing the auger motor.
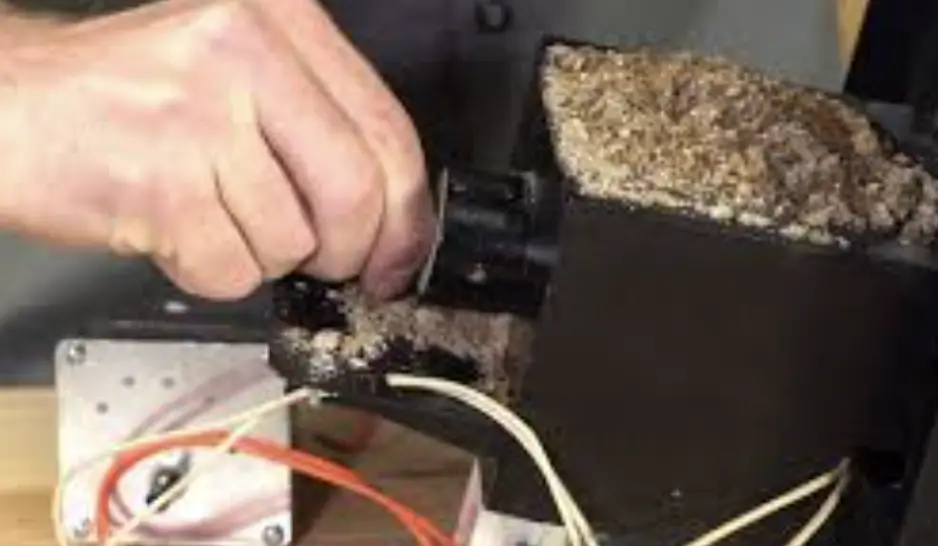
Step 3: Inspect the Wiring
Once you have access to the auger motor, carefully examine the wiring for any signs of damage, fraying, or loose connections. Faulty wiring can lead to motor malfunctions.
Step 4: Perform a Visual Test
Manually rotate the auger shaft to check for smooth movement. It should turn freely without any obstructions or unusual resistance. If you encounter any resistance or grinding noises, there may be an issue with the motor or the auger.
Step 5: Conduct a Continuity Test
To perform a continuity test, you’ll need a multimeter. Set the multimeter to measure resistance (ohms). Touch one probe to the motor’s positive terminal and the other probe to the negative terminal. A functioning motor should show a low resistance reading. If the reading is infinity or significantly higher than expected, the motor may be faulty and need replacement.
Step 6: Check the Motor’s Voltage
If the continuity test results are normal, you can check the motor’s voltage. Plug in the grill and set it to a low temperature. Use the multimeter to measure the voltage output across the motor terminals. It should display the same voltage as indicated by your grill’s control panel. If the voltage is significantly lower or zero, there may be an issue with the control board or wiring.
Step 7: Seek Professional Help
If you encounter any problems during testing or are unsure of your findings, it’s best to seek assistance from a professional technician or the manufacturer’s customer service. They can provide expert guidance and support in diagnosing and resolving any issues with your pellet grill.
Conclusion:
Testing the auger motor in your pellet grill is an essential skill for any avid griller. By following these step-by-step instructions and safety precautions, you’ll become proficient in diagnosing potential issues and maintaining your grill’s performance. Remember to consult your grill’s user manual for specific instructions and reach out to professionals when needed. With a well-functioning auger motor, you can confidently fire up your pellet grill and embark on unforgettable culinary adventures with family and friends. Happy grilling!