Step-by-Step Guide: How to Regrip a Pickleball Paddle for Improved Performance
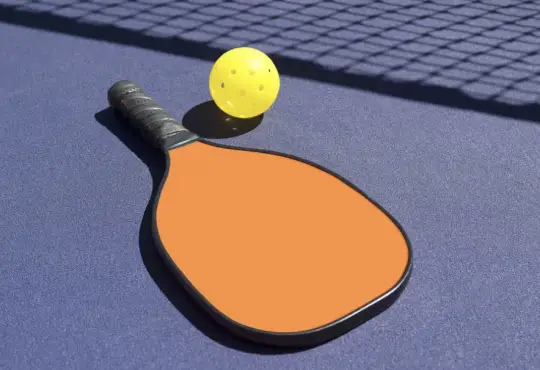
A pickleball paddle’s grip plays a crucial role in your control, comfort, and overall performance on the court. Over time, the grip may wear out or become slippery, affecting your ability to execute shots effectively. Fortunately, regripping your pickleball paddle is a straightforward process that can breathe new life into your equipment. In this blog post, we provide a step-by-step guide on how to regrip a pickleball paddle, allowing you to maintain optimal grip and maximize your playing experience.
Tools and Materials Needed:
- New Grip Tape: Choose a high-quality grip tape suitable for pickleball paddles. Grip tapes come in various thicknesses and textures, so select one that feels comfortable and provides the desired level of traction.
- Scissors: Use a pair of scissors to cut the grip tape to the appropriate length.
- Grip Cleaner (Optional): If your paddle’s existing grip is dirty or sticky, you may want to clean it before regripping. A grip cleaner or mild soap and water solution can help remove dirt and residue.
- Grip Solvent (Optional): In some cases, a grip solvent may be needed to facilitate the removal of the old grip tape or assist in applying the new grip tape. Grip solvents can make the process easier, but they are not always necessary.
Step-by-Step Guide:
- Prepare the Paddle:
- If necessary, clean the paddle’s handle using a grip cleaner or mild soap and water. Ensure it is dry before proceeding.
- Remove the Old Grip Tape:
- If your paddle has existing grip tape, start by carefully peeling it off. Grip solvents can help loosen stubborn tape, but be cautious not to damage the paddle’s handle.
- Measure and Cut the New Grip Tape:
- Unroll the new grip tape and measure its length against the paddle’s handle. Leave a slight overlap at both ends to ensure complete coverage.
- Use scissors to cut the grip tape to the desired length.
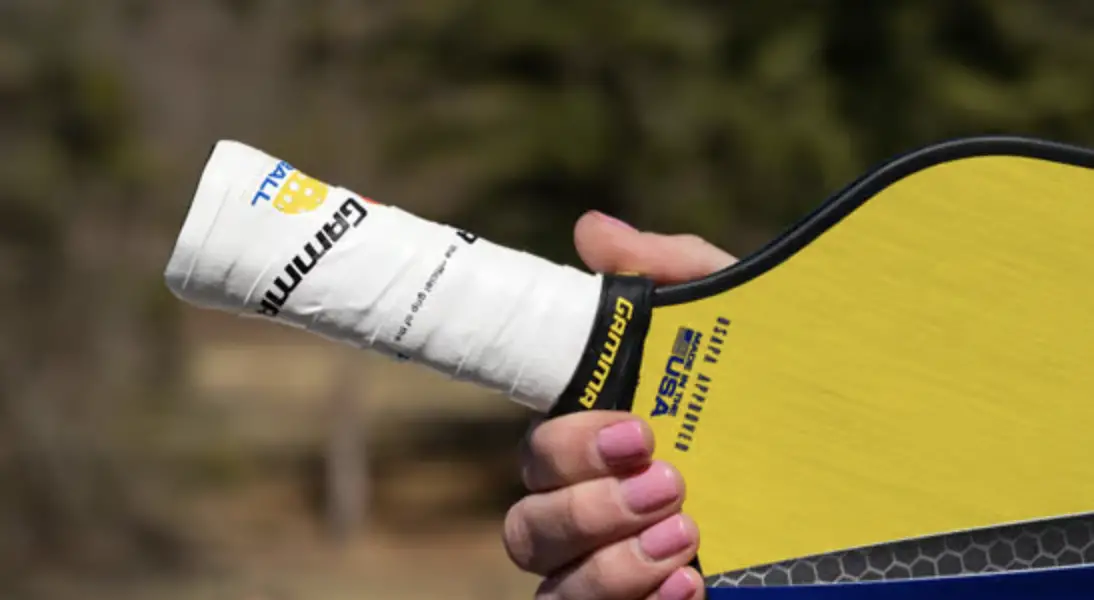
- Apply the New Grip Tape:
- Starting at the base of the handle, align the edge of the grip tape with the paddle’s handle and begin wrapping it tightly around.
- Maintain tension as you wrap, ensuring a smooth and even application. Avoid creases or wrinkles.
- Continue wrapping until you reach the end of the handle, making sure the grip tape covers the entire handle.
- Secure the Grip Tape:
- Once the grip tape is fully applied, stretch it slightly and press it firmly against the paddle’s handle to secure it in place.
- Trim Excess Tape:
- If there is excess grip tape at the end, trim it with scissors for a neat and professional finish.
- Optional: Add Overgrip (Optional):
- If you prefer an additional layer of cushioning or want to personalize the grip further, you can add an overgrip on top of the base grip tape. Follow the same steps as before to apply the overgrip.
Conclusion:
Regripping your pickleball paddle is a simple yet rewarding process that can significantly enhance your playing experience. By following this step-by-step guide, you can easily replace worn-out or slippery grip tape, ensuring a secure and comfortable hold on your paddle. Remember to choose high-quality grip tape that suits your preferences and regularly check and replace your grip tape as needed. With a fresh grip, you’ll be ready to confidently step onto the pickleball court, maintain precise control, and unleash your full potential in every game.
Disclosure: This post contains affiliate links, which means I may earn a commission from qualifying purchases made through these links at no additional cost to you.