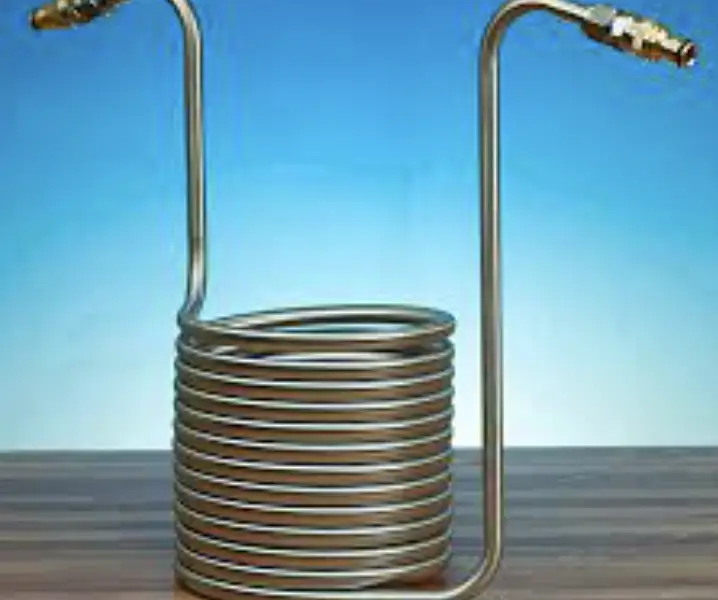
Unlocking the Magic of Homebrewing: How to Use a Wort Chiller
Homebrewing is a delightful hobby that allows beer enthusiasts to craft their favorite libations from scratch. One critical step in the beer-making process is cooling down the hot wort after boiling. A wort chiller is a valuable tool that significantly speeds up this cooling process, ensuring a successful and delicious batch of beer. In this blog post, we will explore the art of using a wort chiller and its benefits for homebrewers.
What is a Wort Chiller?
Before diving into the specifics of using a wort chiller, let’s understand what it is. A wort chiller is a device designed to rapidly cool down hot wort after the boiling stage during beer brewing. The wort is the unfermented beer, and cooling it quickly is crucial to prevent contamination and achieve the desired flavor profile. Wort chillers come in different styles, with the two most common types being immersion chillers and counterflow chillers.
- Immersion Chiller:
An immersion chiller is a coil of copper or stainless steel tubing that is submerged directly into the hot wort. Cold water flows through the tubing, absorbing the heat from the wort and cooling it down rapidly.
- Counterflow Chiller:
A counterflow chiller consists of two tubes, one inside the other. Hot wort flows through the inner tube while cold water flows through the outer tube in the opposite direction. This counterflow design allows for efficient heat exchange, rapidly cooling the wort as it passes through the chiller.
Using a Wort Chiller: Step-by-Step Guide
Step 1: Boil the Wort
After the boiling phase of your beer recipe is complete, turn off the heat and prepare to cool the wort.
Step 2: Sanitize the Wort Chiller
Before using the wort chiller, ensure it is clean and sanitized. Submerge the chiller in a sanitizing solution and let it sit for the recommended time.
Step 3: Connect the Wort Chiller
For immersion chillers, gently place the coiled tubing into the boiling wort, ensuring that it is fully submerged. For counterflow chillers, connect the inlet and outlet hoses appropriately.
Step 4: Start the Water Flow
For an immersion chiller, turn on the cold water supply, allowing it to flow through the tubing. For a counterflow chiller, turn on both the hot wort flow and the cold water supply simultaneously.
Step 5: Monitor the Temperature
Throughout the cooling process, monitor the temperature of the wort using a sanitized thermometer. The goal is to reach the desired pitching temperature as quickly as possible.
Step 6: Transfer to the Fermenter
Once the wort has reached the desired temperature, remove the wort chiller from the brew kettle, taking care not to contaminate the cooled wort. Transfer the wort to the fermenter for the next stage of the brewing process.
Benefits of Using a Wort Chiller
- Time Efficiency: Wort chillers drastically reduce the cooling time, saving valuable time during the brewing process.
- Minimize Contamination Risk: Rapid cooling helps prevent contamination and off-flavors in the finished beer.
- Improved Beer Clarity: Faster cooling encourages the proteins to coagulate, leading to clearer beer.
- Enhanced Hop Utilization: Reducing the post-boil exposure time to hops helps retain their delicate aromas and flavors.
Conclusion
A wort chiller is a valuable tool that every homebrewer should consider adding to their brewing arsenal. By facilitating rapid cooling of the wort, a wort chiller ensures a clean and efficient brewing process, resulting in better beer quality and taste. Whether you opt for an immersion chiller or a counterflow chiller, the benefits of using this indispensable device are sure to elevate your homebrewing experience to new heights. Happy brewing!


